Job 76 - Lowered Floor Sealing
Having let the ACF50 in the side panels and the transmission tunnel settle we cleaned up any residue that had worked its way out and I looked to add additional sealant to around the lowered floors. I used Tigerseal to do the having used it before on the tin top.

 |
| Make Sure you use gloves with Tigerseal - It's very sticky indeed! |
First job of the day was to remove the front cycle wings from the Wing Stays to access how best to wire up the LED side repeaters. I purchased some bullet connectors during the week with the aim of creating a system that could be disconnected quickly and easily.
 |
| Bullet Connectors - Top 2 are the Originals, Bottom 2 are with Plastic removed |
 |
| Warming up the Soldering Iron |
As the standard Indicators had a long enough cable with the socket to attached to the end of it. We decided to cut the lead and utilise that, as I was not screwing the cycle wing to the stay we decided to feed the Earth wire through to the body along with the Positive. We figured out that it would be best to feed a wire up from the bottom of the wing stay to attach the Positive and Earth to and then pull back through.
 |
| Side Repeater Positive & Earth Leads fed through the Wings Stay to measure for length |
 |
| Soldering the Female Bullet Connector to the Wing Stay Wires |
We then tried the other lights and nothing from the side or dipped lights! I will have to check the fuses, but as expected there is no indication as to which fuse is for what! A call to Caterham I think to try and get some information about it (for future reference mainly).
Due to a lack of enough heat shrink we left the RHS to do another day.
Job 78 - Hoodstick Preparation
I had looked to fit the Hoodstick as I didn't think it would get in the way of the Detailing, but I was wrong so we just prepared this off the car ready for fitting afterwards.
 |
| Adding the hood straps |
Again these couldn't be fitted at this stage, but they could be prepared.
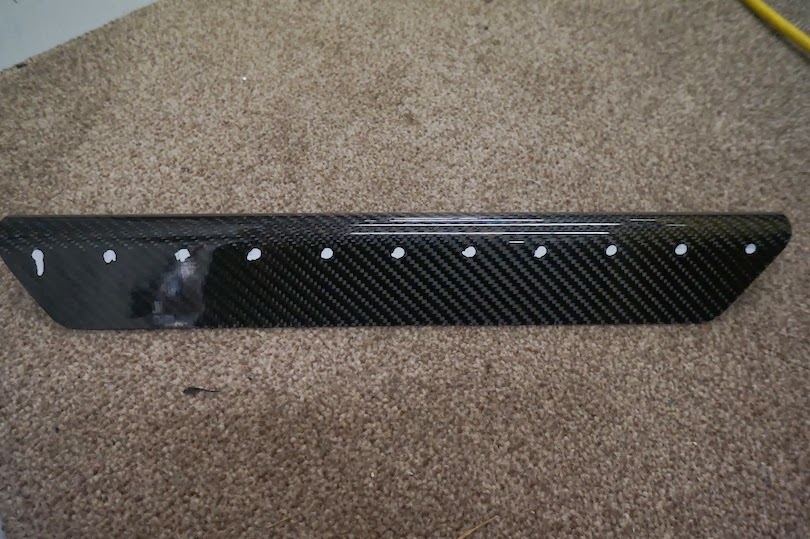
 |
| Fitting the Carbon Sill Protectors in between the body and skin |
 |
| Tipex pen used to mark the rivet hole locations |
 |
| Tipex'd hole marks just before drilling |
No comments:
Post a Comment